I found myself doing what a lot of teenagers do: experiment. Instead of experimenting with marijuana and alcohol, I was tinkering around with electronics. I found the topic of solar power interesting, and decided to construct my own panel.
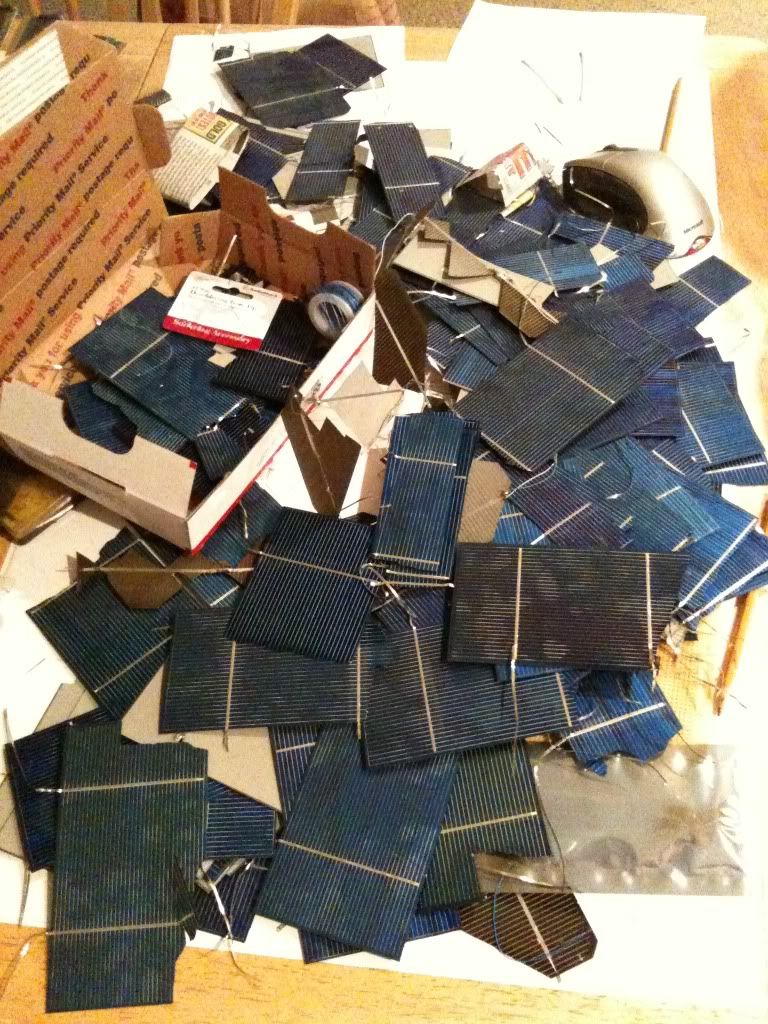
On eBay, solar cells get pretty expensive. To mitigate the overwhelming expense, I purchased the next best thing: broken solar cells. Despite being harder to use and having less amperage, broken cells offer the same voltage and are significantly cheaper. I obtained this massive lot of solar cells for ~$100 (the seller gave more broken cells to compensate for any cells possibly further damaged in shipping). Below is an image of the sheer amount of cells I got:
I started off by getting a peg board. I then soldered 3 columns of cells in a parallel circuit. I also deconstructed a $5 solar iPhone charger and hooked it up to my new panel.
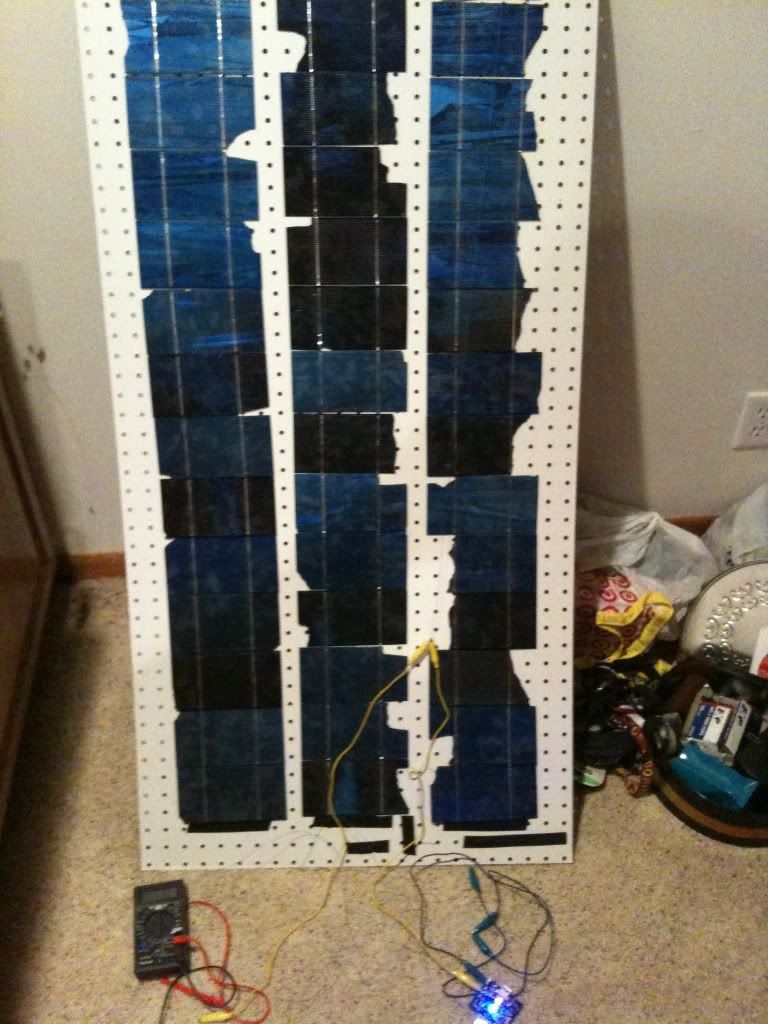
Since the charging mechanism contains a battery with diodes and an overcharge protector, there was no need to worry about the battery discharging in the dark or overcharging in light.
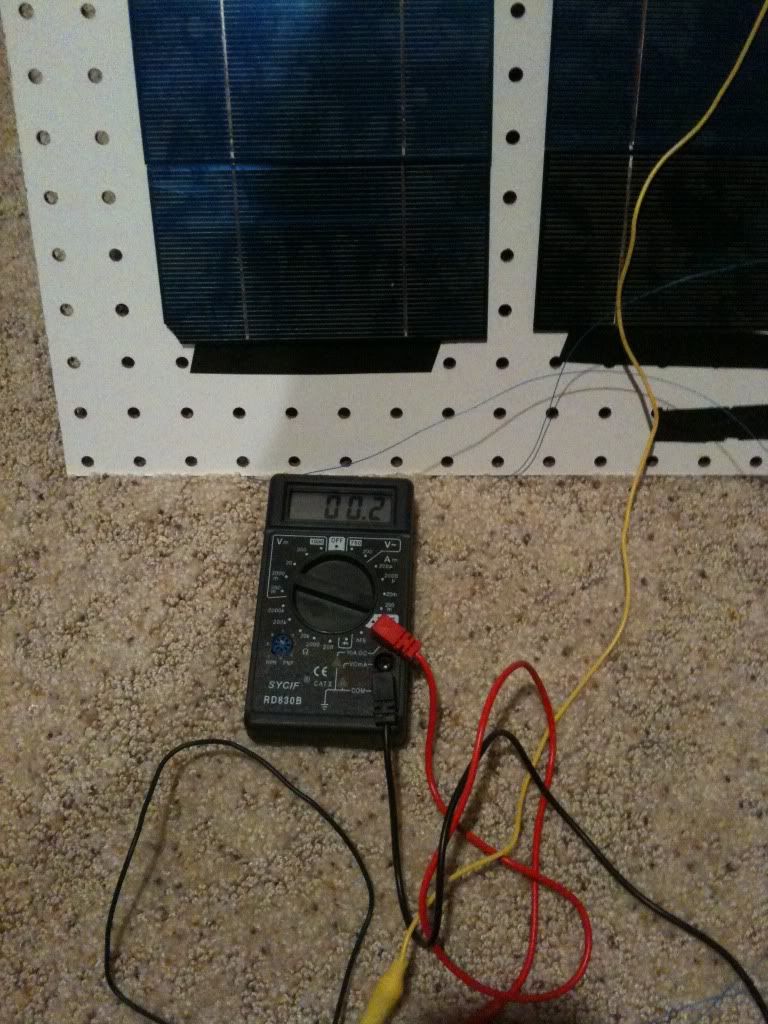
To test the power of the solar panel, I hooked up to a multimeter. Note that even when tested indoors, the multimeter displays a nice voltage reading of 11.87V.
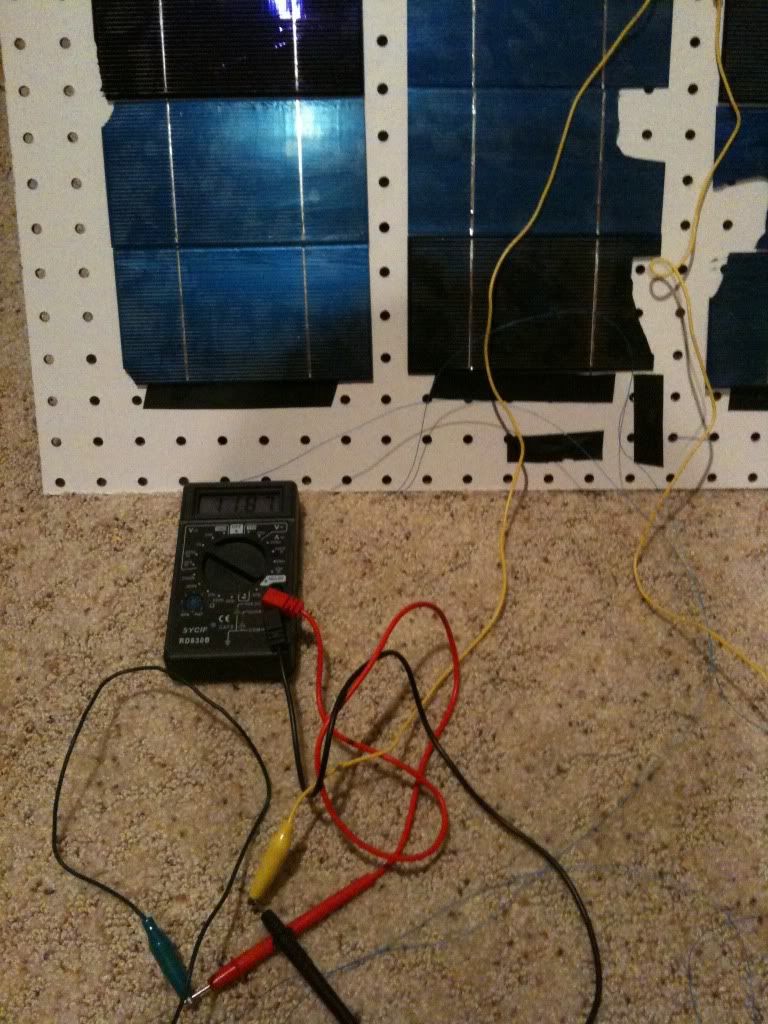
The amperage was much less impressive, reading at 0.2A. This was due to the cells being broken, as well as a fully intact cell having a max amperage of 300mAh.
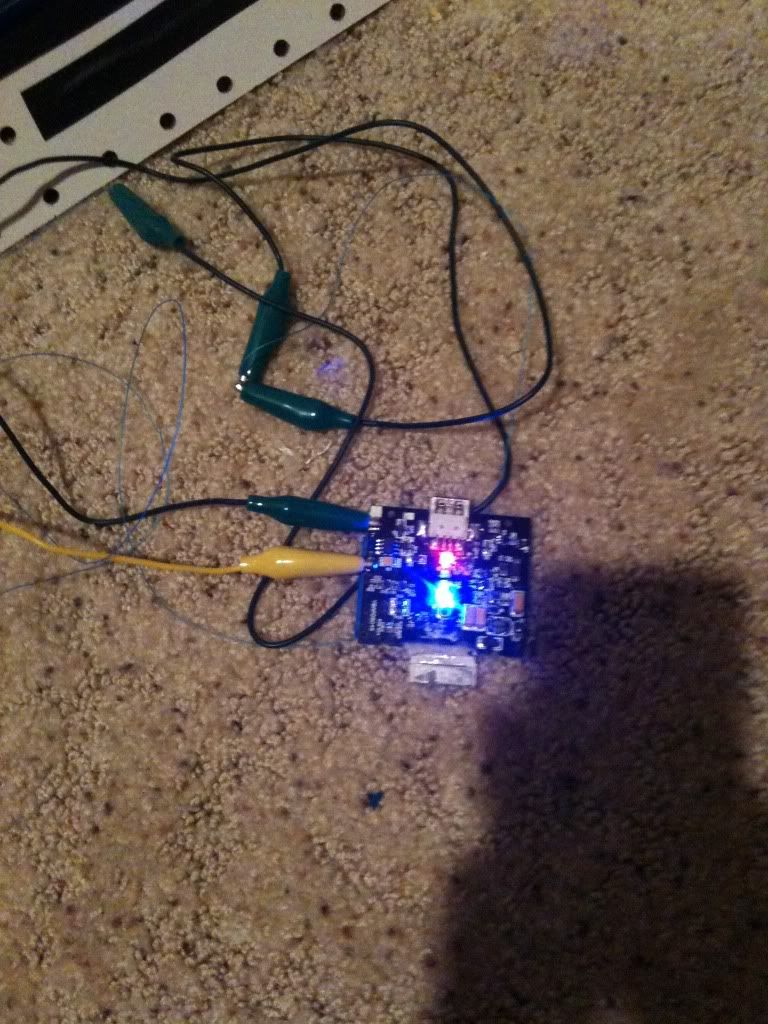
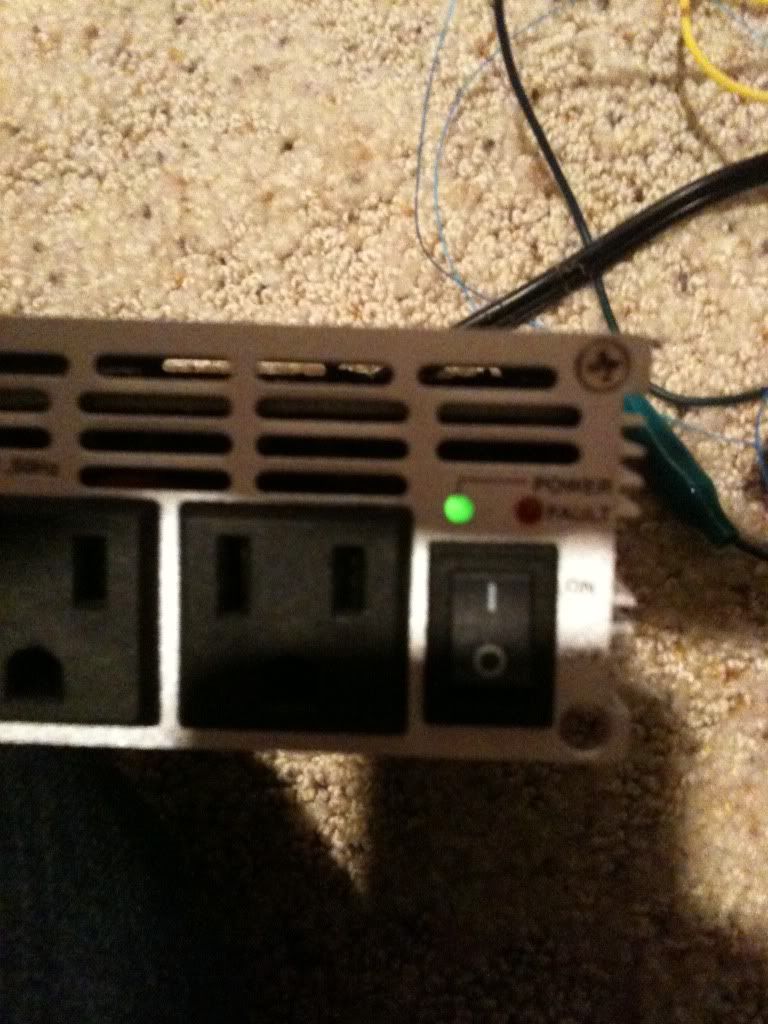
Of course, I had just gotten started. Wanting to see more applications of my investment, I purchased a $20 power inverter from China.
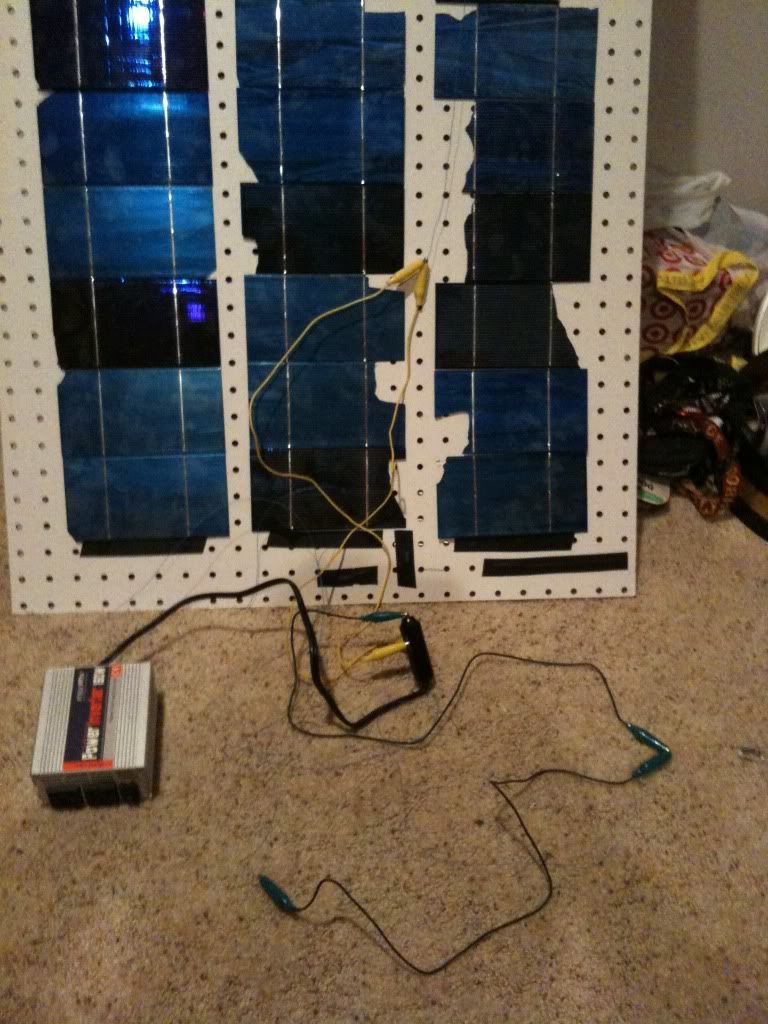
Although there is enough power for the power indicator to go on, the panel does not generate enough energy indoors to power anything. However, it does work outside (to the extent where I could charge my iPhone).
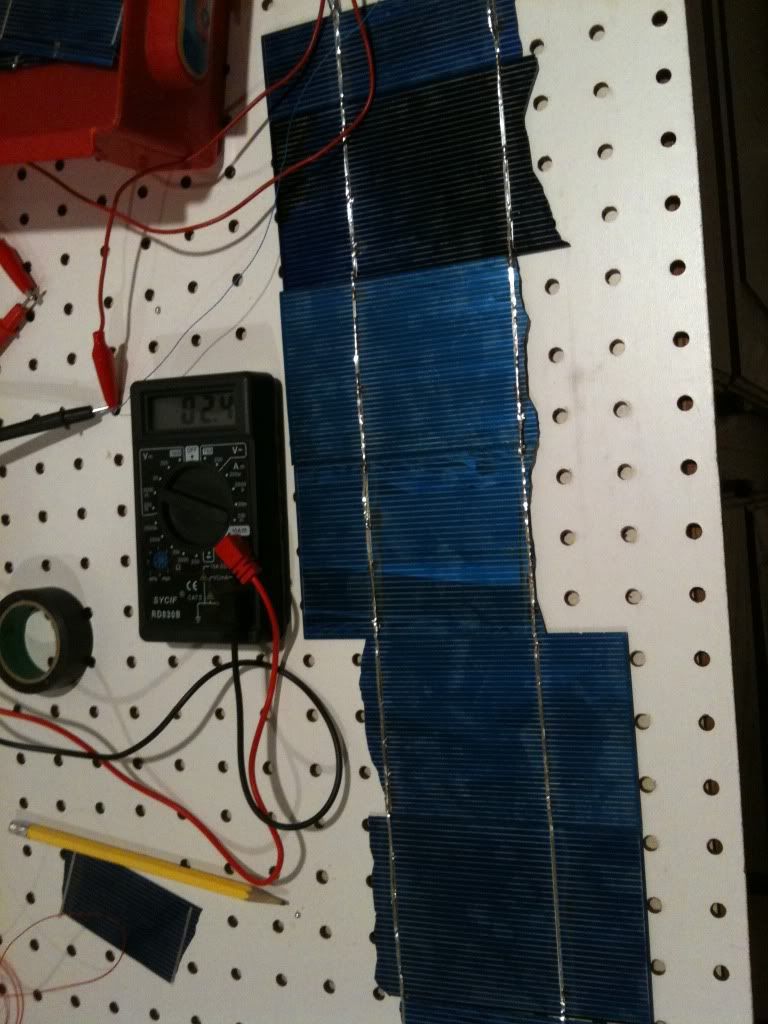
To combat the lack of amperage, I took another peg board and soldered another 3 columns in a parallel circuit to simulate one massive solar cell. Just one column has an amperage of 2.4, twelve times greater compared to the reading of 0.2 above.
Combining both panels, I was able to charge a 12V battery outside efficiently(diodes and overcharge protection are REQUIRED, resistors vary on a panel by panel basis). Through the use of the 12V battery and the power inverter, I could power a variety of things, from a lamp to a Playstation 1 (no pictures, sorry T.T).
I still have a massive amount of solar panels to use, and I am currently (pun intended) trying various ways to expend my solar panels.


